Follow Me On Social Media!

Red Velvet Cake Recipe Bliss: Indulge in Creamy Perfection
Introduction to Red Velvet Cake Recipe Bliss
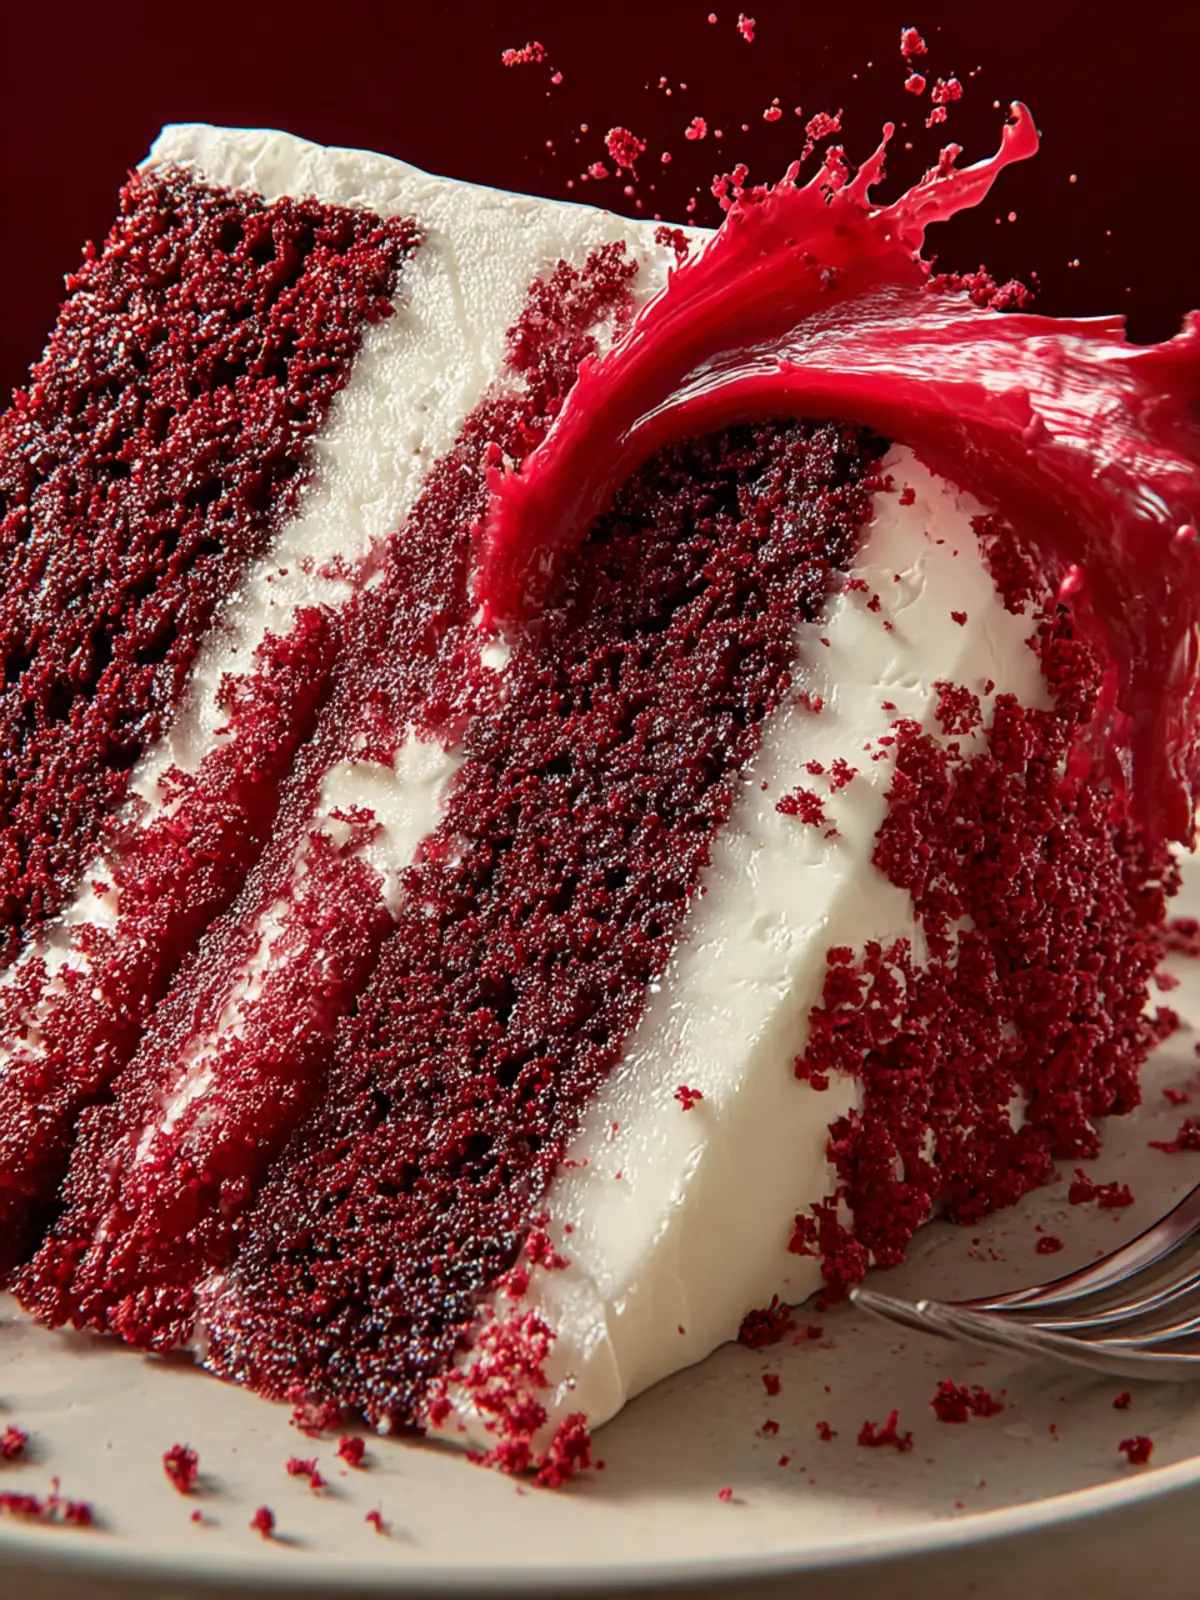
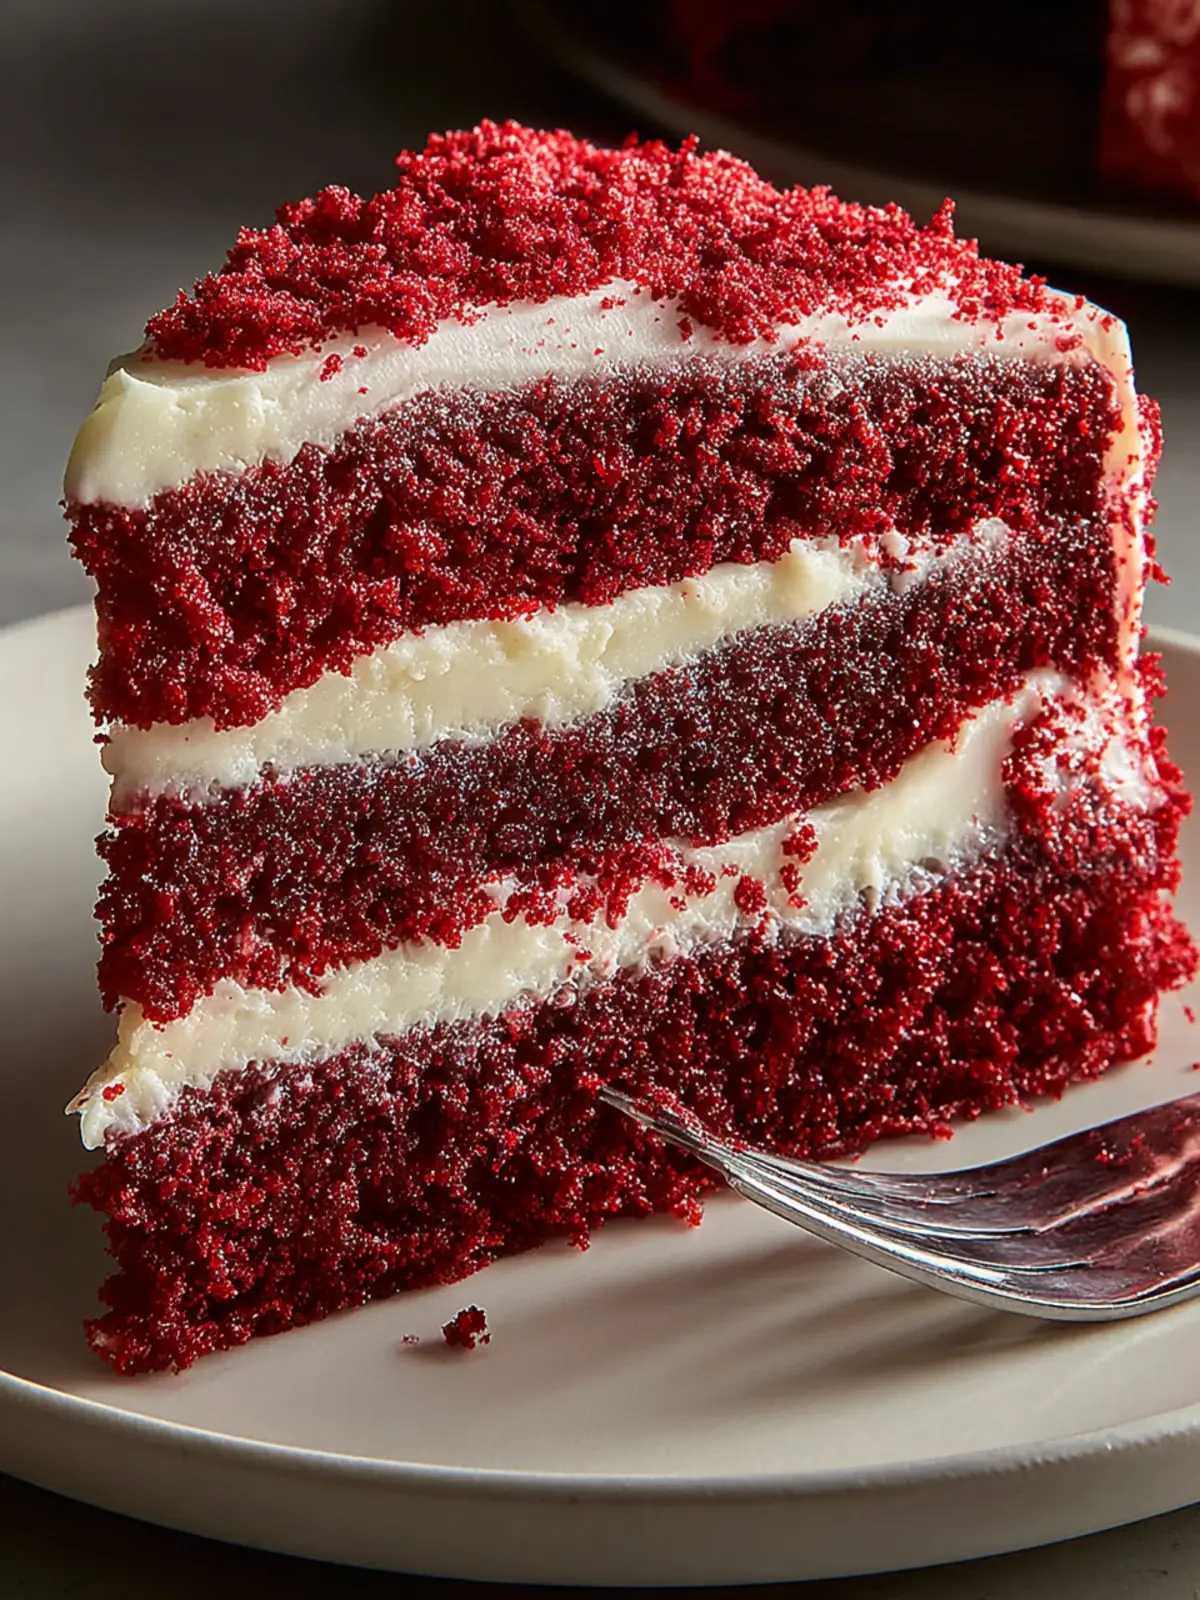
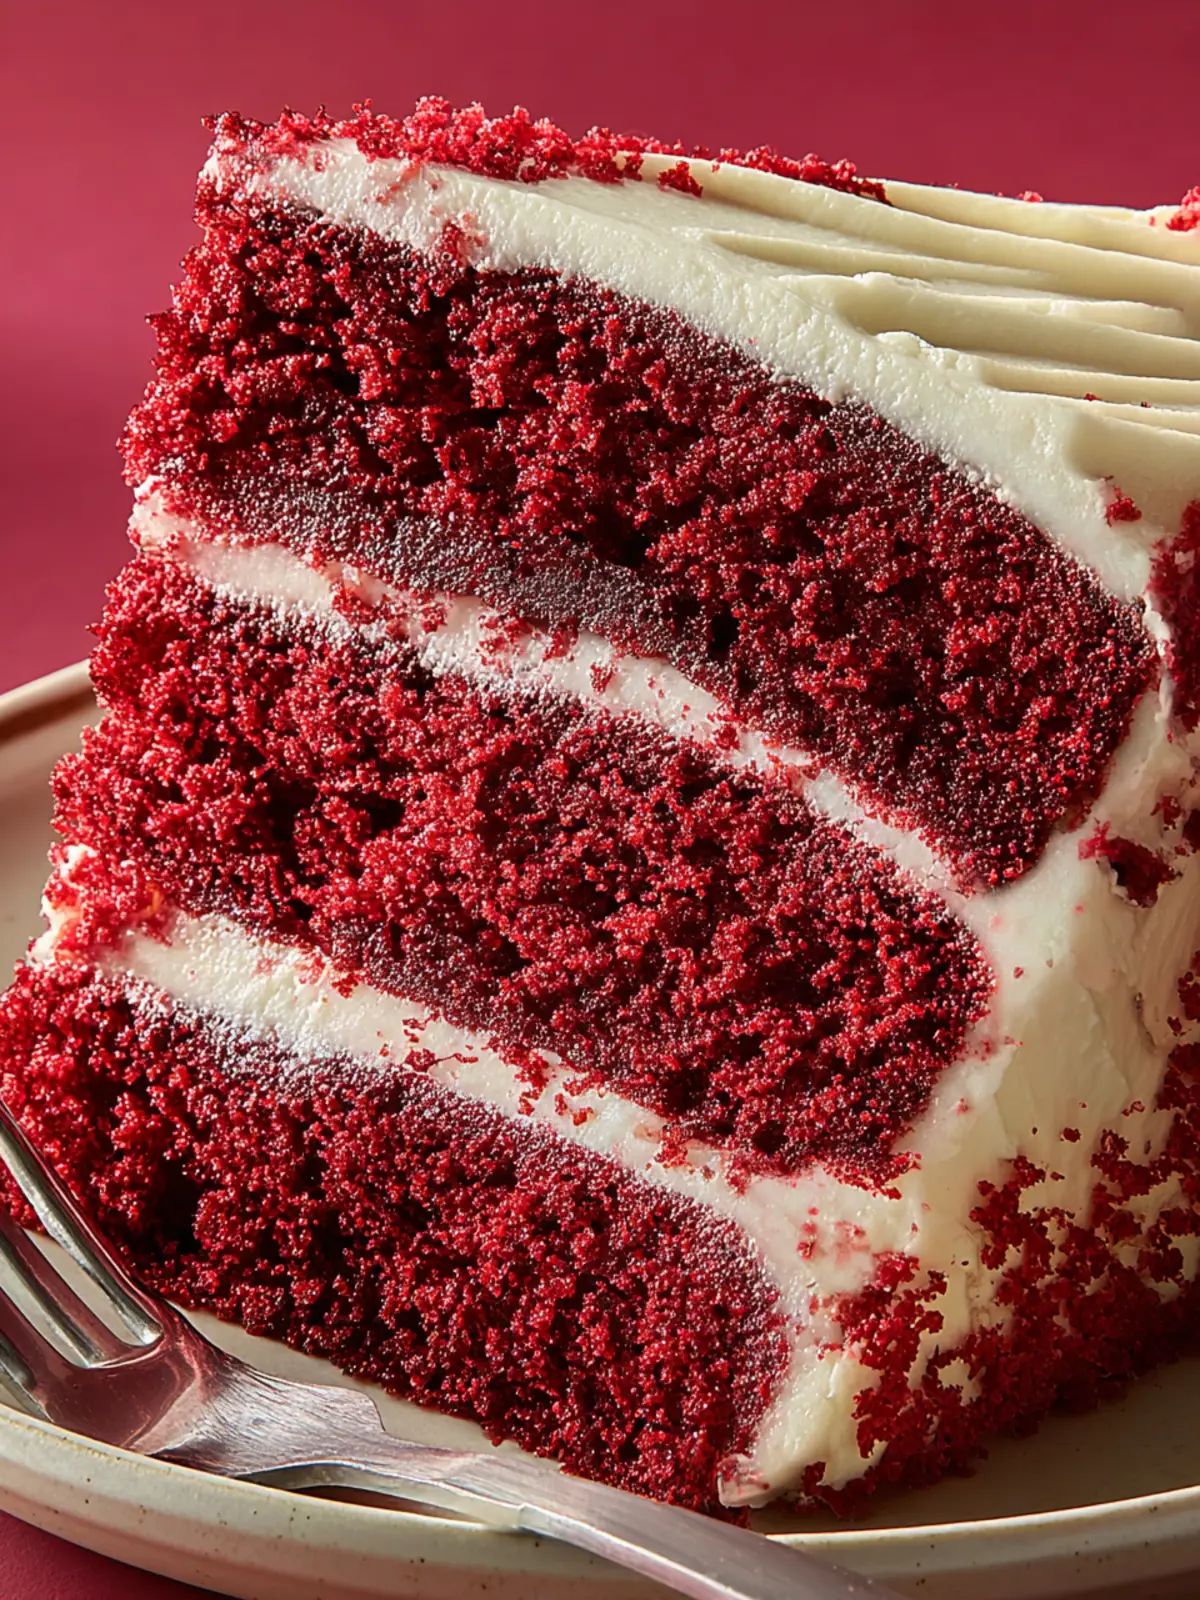
When you dive into the world of baking, few creations bring as much joy as a beautifully crafted red velvet cake. This dessert isn’t just a treat for the taste buds; it’s a slice of history and a burst of color that can brighten any occasion. You may wonder what makes this cake so enchanting. Is it the velvety texture, the hint of chocolate, or perhaps the vibrant red hue that captures your eye? The answer is a delightful combination of all these elements, making the red velvet cake recipe bliss a must-try.
Red velvet cake traces its roots back to the 1800s, often linked to the South where it made its mark as a staple dessert at celebrations. The cake’s luxurious red color was originally achieved using cocoa powder that reacted with acidic ingredients. Today, we have more convenient ways to achieve that stunning shade, but the taste remains grounded in tradition. This cake is often layered with a smooth cream cheese frosting that beautifully contrasts with its rich flavor, creating an irresistible dessert that will captivate your guests.
Creating the perfect red velvet cake is a delightful journey that requires a handful of simple, accessible ingredients. This cake offers an inviting mix of rich flavors and a soft crumb, making it the perfect centerpiece for birthdays, anniversaries, or even casual gatherings just to savor something sweet. The best part? It’s easier to make than you might think.
Let’s explore some key elements that make this cake special:
What makes red velvet cake so special?
- A Unique Flavor: Unlike standard chocolate cakes, red velvet cake has a subtle cocoa flavor that’s enhanced by the tanginess of buttermilk, resulting in a balanced taste that’s both rich and refreshing.
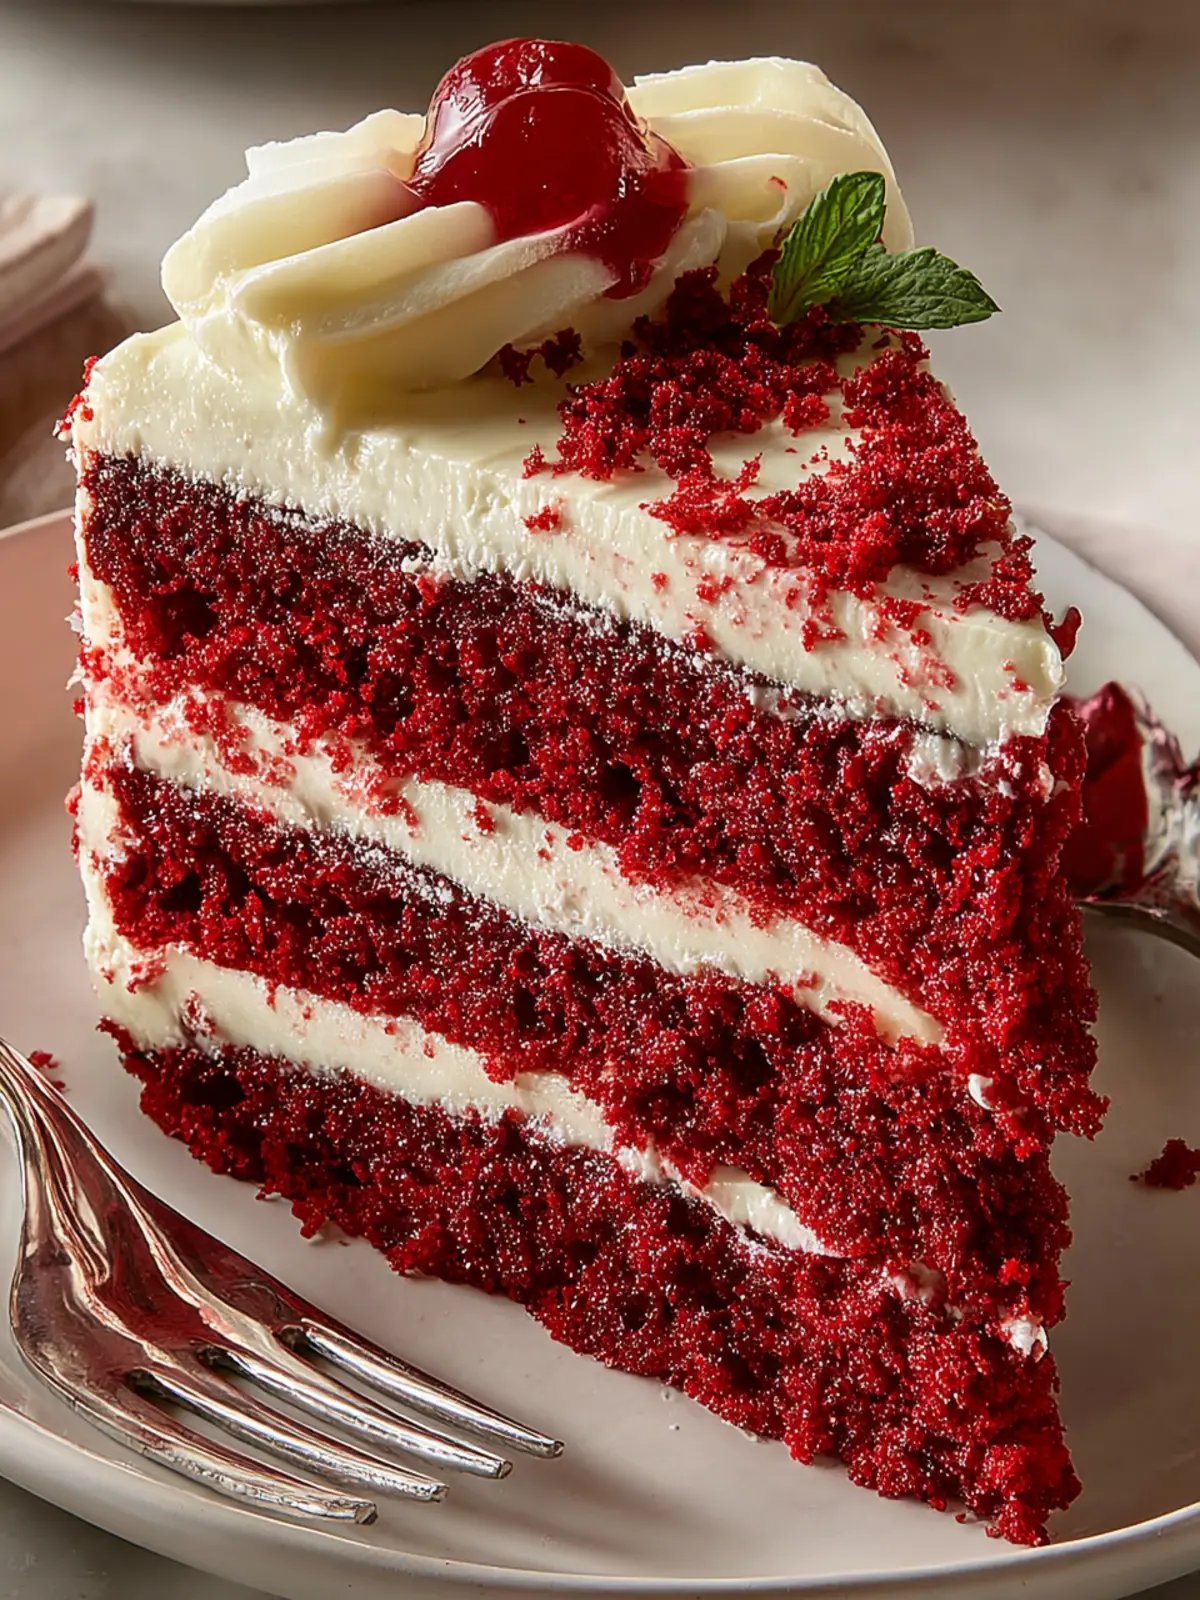
- Visual Appeal: The striking red color makes it visually captivating, and it’s often decorated with a generous layer of cream cheese frosting that adds a layer of elegance.
- Moist and Tender: Thanks to the perfect combination of oil and buttermilk, red velvet cake is exceptionally moist and tender, ensuring every bite melts in your mouth.
In the following sections, we will dive deeper into crafting this classic dessert, step by step, ensuring that your baking experience is as joyful as the cake is delicious. Get ready to enjoy the delightful journey of creating your own red velvet cake recipe bliss!
Key Ingredients for Red Velvet Cake Recipe Bliss
When diving into the world of red velvet cake recipe bliss, the secret lies in choosing the right ingredients. Each one plays a vital role in crafting that unforgettable flavor and texture.
All-purpose flour
I rely on all-purpose flour for its ability to form a stable structure, supporting the cake’s moistness while allowing it to rise beautifully. This creates the even texture that we all crave in a slice of red velvet.
Granulated sugar
The touch of granulated sugar is crucial; it not only sweetens but also contributes to the cake’s moisture and enhances that stunning red hue. Who doesn’t love a vibrant cake that looks as good as it tastes?
Baking soda and salt
Baking soda is the magic ingredient that gets the cake rising to perfection, while a pinch of salt elevates the flavors, balancing the sweetness with a delightful, savory touch.
Vegetable oil
For that melt-in-your-mouth texture, I use vegetable oil. It keeps the cake incredibly moist and tender, ensuring that every bite is an indulgent experience.
Buttermilk
Buttermilk adds a lovely tang that harmonizes perfectly with the sweetness, resulting in a cake that’s luscious and soft throughout.
Eggs
Rich in flavor, eggs are fundamental for binding the ingredients and creating a balanced texture. They truly elevate the richness of the cake.
Cocoa powder
Just a hint of cocoa powder adds depth to the flavor without overshadowing the classic red. It’s all about making sure that the cake’s identity shines through.
Red food coloring (gel)
The star of the show! Gel food coloring brings that iconic red hue to life while maintaining the cake’s texture—no compromise here.
Vanilla extract
A splash of vanilla extract is a simple yet effective way to enhance the cake’s flavor profile, making each mouthful even more delicious.
Cream cheese frosting
Finally, the cream cheese frosting is the perfect topping for this cake. Its creamy richness complements the moistness of the cake beautifully, creating an irresistible dessert experience.
With these carefully selected ingredients, you’re well on your way to achieving red velvet cake recipe bliss. Happy baking!
Why You’ll Love This Red Velvet Cake Recipe Bliss
Every time I slice into a moist, velvety piece of this cake, it takes me straight back to my grandmother’s kitchen. This red velvet cake recipe bliss combines rich flavors and a striking appearance that never fails to amaze. You can almost feel the love poured into each layer as the cream cheese frosting hugs the cake.
This recipe is not just visually stunning. The unique combination of cocoa powder and a touch of vinegar creates an intriguing taste profile that perfectly balances sweetness and tanginess. Plus, the luscious cream cheese frosting—a staple for any red velvet enthusiast—adds a velvety finish that keeps you coming back for more.
Imagine surprising your friends at a gathering or treating yourself to a little indulgence. This cake is perfect for special occasions, yet it’s simple enough to whip up on a whim. You’ll find that each bite feels like a special treat, making every moment feel like a celebration.
Whether you’re a baking pro or just starting, this recipe provides foolproof steps that yield consistently amazing results. So grab your apron and get ready to dive into this delightful red velvet cake recipe bliss that will have everyone asking for seconds!
Variations of Red Velvet Cake
Gluten-free options
Creating a gluten-free version of your beloved red velvet cake recipe bliss is easier than you might think! Simply swap out all-purpose flour for a 1:1 gluten-free baking blend. Make sure to check the blend has xanthan gum, which helps provide the structure we often take for granted in traditional cakes. Additionally, consider using almond flour or coconut flour for a unique texture. Just remember to adjust your liquid ingredients as these flours can absorb moisture differently.
Mini cupcakes or cake pops
Why not take the lusciousness of a red velvet cake and transform it into fun-sized mini cupcakes or cake pops? Mini cupcakes make for the perfect bite-sized treat, ideal for sharing at gatherings or celebrations. To craft cake pops, bake your red velvet cake, crumble it, and mix it with cream cheese frosting before shaping and dipping in chocolate. This twist is not only a hit with guests but also adds a playful vibe to the classic recipe!
Creative flavor twists
Ever thought of adding a twist to your red velvet cake recipe bliss? Experiment with flavors like white chocolate, raspberry, or even orange zest to elevate your cake. Incorporating these flavors into the cream cheese frosting makes each bite an exciting surprise. You could also consider infusing a hint of espresso for a mocha version. Embrace your creativity, and let each layer tell its own delicious story!
Cooking Tips and Notes for Perfect Red Velvet Cake
Creating the perfect red velvet cake recipe bliss is a delightful journey that brings together vibrant flavors and stunning visuals. To help you navigate this sweet adventure, here are some essential tips to ensure your cake turns out beautifully.
Avoiding Overmixing the Batter
One key to achieving a soft and tender crumb is to avoid overmixing your batter. Mix until the ingredients are just combined—if you see a few lumps, that’s perfectly fine! Overmixing can lead to gluten development, resulting in a dense cake when what we want is light and fluffy. Think of it this way: gentle mixing is like a warm hug for your cake!
Tips for Achieving the Perfect Red Color
To ensure your red velvet cake turns out vibrant, use high-quality red food coloring. You might want to experiment with both liquid and gel types to see which gives you the boldest hue. Additionally, combining cocoa powder with the food coloring can help deepen the color, creating the iconic red you’re striving for.
Cooling and Frosting Techniques
Cooling your red velvet cake is crucial for a perfect finish. Allow it to cool in the pan for about 10-15 minutes before transferring it to a wire rack. This helps it hold its shape and prevents it from becoming soggy. When it comes to frosting, using cream cheese frosting is a classic choice. Make sure both the cake and frosting are at room temperature for easy spreading, and frost generously for that Instagram-worthy finish!
By following these tips, you’ll craft a red velvet cake recipe bliss that not only wows the palate but also amazes the eye. Happy baking!
Serving Suggestions for Red Velvet Cake
When it comes to your red velvet cake recipe bliss, the way you serve this stunning dessert can elevate the entire experience for you and your guests. It’s not just about the cake itself; it’s about creating a moment that lingers in their memory.
Pairing with Beverages
A classic pairing with red velvet cake is a robust glass of red wine, which complements the cake’s rich cocoa flavor beautifully. If you’re after a non-alcoholic option, consider serving it with a creamy vanilla latte or an iced chai tea. Both drinks provide a cozy contrast that balances the cake’s richness, making every bite even more enjoyable.
Serving at an Event or Party
For your next gathering, think about how you can showcase your red velvet cake to make it a centerpiece.
- Layering: If you feel adventurous, serve individual slices stacked with layers of cream cheese frosting, which adds height and visual interest.
- Decoration: Finish off with fresh berries or a sprinkle of edible gold for that extra luxe feel.
- Themed Parties: If you’re hosting a Valentine’s Day celebration or a romantic dinner, consider hanging fairy lights and setting a cozy table—this will enhance the aesthetic appeal of your cake.
Your red velvet cake recipe bliss deserves to be celebrated in style, creating not just a treat but a memorable experience for everyone!
Time Breakdown for Red Velvet Cake
Making a red velvet cake is a delightful experience that can bring a touch of joy to your kitchen. Knowing how to manage your time effectively can make all the difference in the baking process. Here’s how you can break it down:
Preparation Time
Getting everything ready is essential to success. Spend about 30 minutes mixing your ingredients, ensuring you measure precisely and achieve that perfect consistency.
Baking Time
Once your batter is ready, it’s time to bake! Expect to let your cake bake for approximately 30-35 minutes. Keep an eye on it; the aroma will be irresistible!
Cooling Time
After baking, allow your masterpiece to cool for around 1 hour before icing. This step is crucial to prevent your frosting from melting.
With this time breakdown in hand, you’re all set for a red velvet cake recipe bliss experience that will leave your friends and family craving more.
Nutritional Facts for Red Velvet Cake Recipe Bliss
When indulging in a slice of red velvet cake recipe bliss, it’s essential to understand its nutritional profile to ensure you enjoy it mindfully.
Calories
One serving of the cake typically contains around 350-400 calories, offering a delightful treat without derailing your dietary goals.
Sugar Content
With a sugar content of approximately 40 grams per serving, this cake delivers the perfect sweetness that compliments its distinct flavors.
Serving Size
Typically, a standard serving size is about 1 slice (1/12 of a 9-inch cake), making it manageable for an afternoon snack or a celebratory dessert.
Enjoy your slice of happiness while keeping these nutritional facts in mind!
FAQs About Red Velvet Cake Recipe Bliss
Baking a delicious red velvet cake is more than just a recipe; it’s an experience that brings joy to celebrations and cozy gatherings alike. If you’re diving into the world of red velvet cake recipe bliss, you might have a few questions before you whip up this delightful dessert. Let’s delve into some frequently asked questions to ensure your cake turns out perfectly!
What’s the best way to store red velvet cake?
To maintain the freshness of your red velvet cake, store it in an airtight container at room temperature for 1-2 days. If you need to keep it longer, popping it in the refrigerator can extend its life for up to a week. Just remember to wrap it carefully to avoid drying out and losing that luscious moisture.
Can I make this cake ahead of time?
Absolutely! Making your cake a day or two in advance can actually enhance its flavor as it sits. Just remember to frost it with cream cheese frosting closer to serving time for optimal freshness. If you’re feeling extra organized, you can also bake and freeze the layers. Just wrap them tightly and defrost in the refrigerator before icing.
How can I make the cake even more moist?
To elevate the moisture level in your cake, consider incorporating buttermilk and/or adding a bit of sour cream to the batter. Both ingredients contribute a lovely tenderness and rich flavor. Additionally, be careful not to overbake; a few extra minutes can make a big difference!
What other frostings work well with red velvet?
While cream cheese frosting is a classic pairing, you can experiment with alternatives like chocolate ganache, vanilla buttercream, or even a tangy lemon frosting. Each of these options brings a unique twist to your red velvet cake recipe bliss, offering delightful contrasts to the cake’s rich flavors.
With these tips, you’re well on your way to creating a show-stopping red velvet cake that everyone will rave about!
Conclusion on Red Velvet Cake Recipe Bliss
In wrapping up our journey through the red velvet cake recipe bliss, it’s clear that this dessert is not just a cake; it’s an experience filled with vibrant color and rich flavor. Each slice tells a story of gatherings, celebrations, and moments of joy.
Remember, the secret lies in using quality ingredients—think fresh buttermilk and high-quality cocoa. So, whether you’re celebrating a special occasion or simply indulging your sweet cravings, this recipe is your ticket to satisfaction. Share it with friends, and make lasting memories, one delicious bite at a time.
Print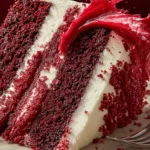
Red Velvet Cake
- Total Time: 1 hour
- Yield: 12 servings 1x
- Diet: Vegetarian
Description
This delicious Red Velvet Cake combines a rich flavor with a beautiful color, topped with creamy frosting.
Ingredients
Scale
- 2 ½ cups all-purpose flour
- 1 ½ cups granulated sugar
- 1 tsp baking soda
- 1 tsp salt
- 1 cup vegetable oil
- 1 cup buttermilk
- 2 large eggs
- 2 tbsp unsweetened cocoa powder
- 1 oz red food coloring (gel)
- 2 tsp vanilla extract
- Cream cheese frosting (for topping)
Instructions
- Preheat your oven to 350°F (175°C) and grease two round baking pans.
- In a bowl, whisk together the flour, cocoa powder, baking soda, and salt.
- In another bowl, mix the sugar and vegetable oil until smooth. Add eggs one at a time, then incorporate buttermilk, red food coloring, and vanilla.
- Gradually add the dry ingredients to the wet mixture until just combined—avoid overmixing.
- Divide the batter between the prepared pans and bake for 25-30 minutes or until a toothpick comes out clean.
- Allow cakes to cool completely before generously frosting with cream cheese frosting.
Notes
- Make sure all ingredients are at room temperature before starting.
- This cake pairs well with a classic cream cheese frosting.
- For added flavor, consider adding a teaspoon of almond extract to the batter.
- Prep Time: 30 minutes
- Cook Time: 30 minutes
- Category: Dessert
- Method: Baking
- Cuisine: American
Nutrition
- Serving Size: 1 slice
- Calories: 350
- Sugar: 20g
- Sodium: 250mg
- Fat: 15g
- Saturated Fat: 2g
- Unsaturated Fat: 10g
- Trans Fat: 0g
- Carbohydrates: 50g
- Fiber: 1g
- Protein: 3g
- Cholesterol: 50mg