Follow Me On Social Media!

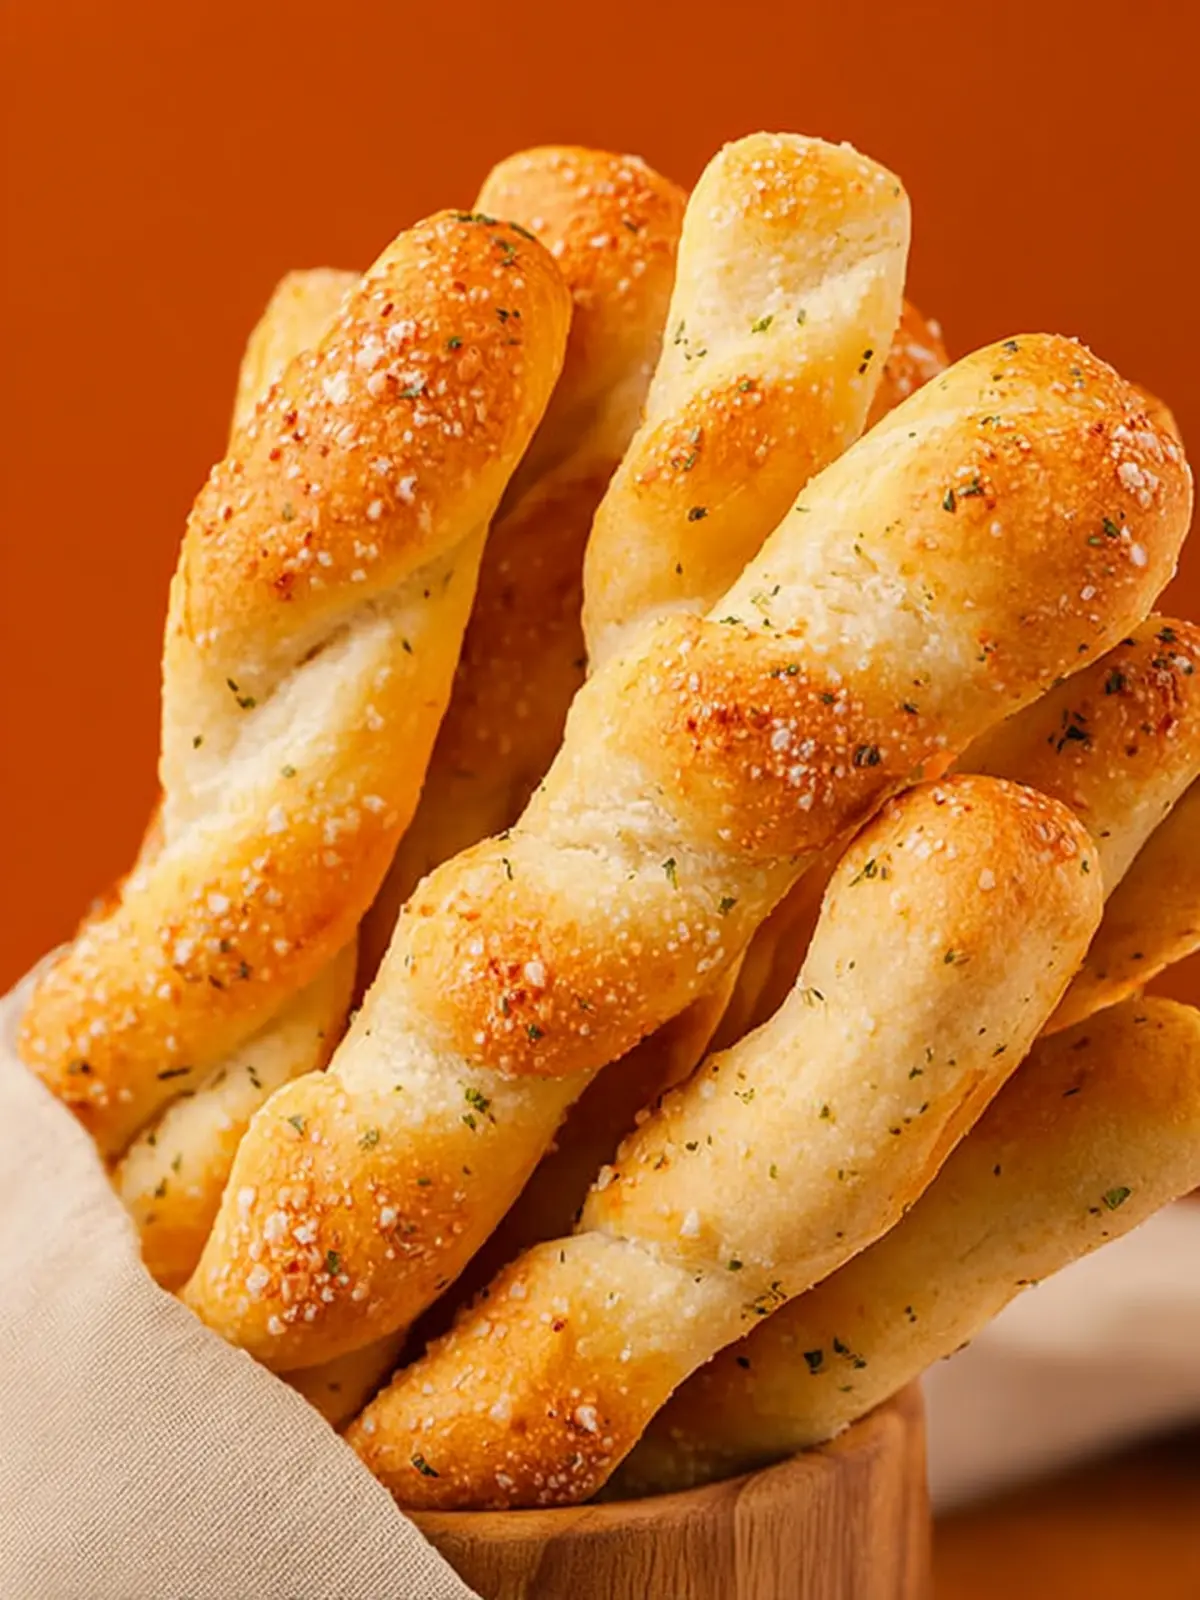
Breadsticks That Steal the Show: Soft, Chewy, and Irresistible
Introduction to Homemade Breadsticks
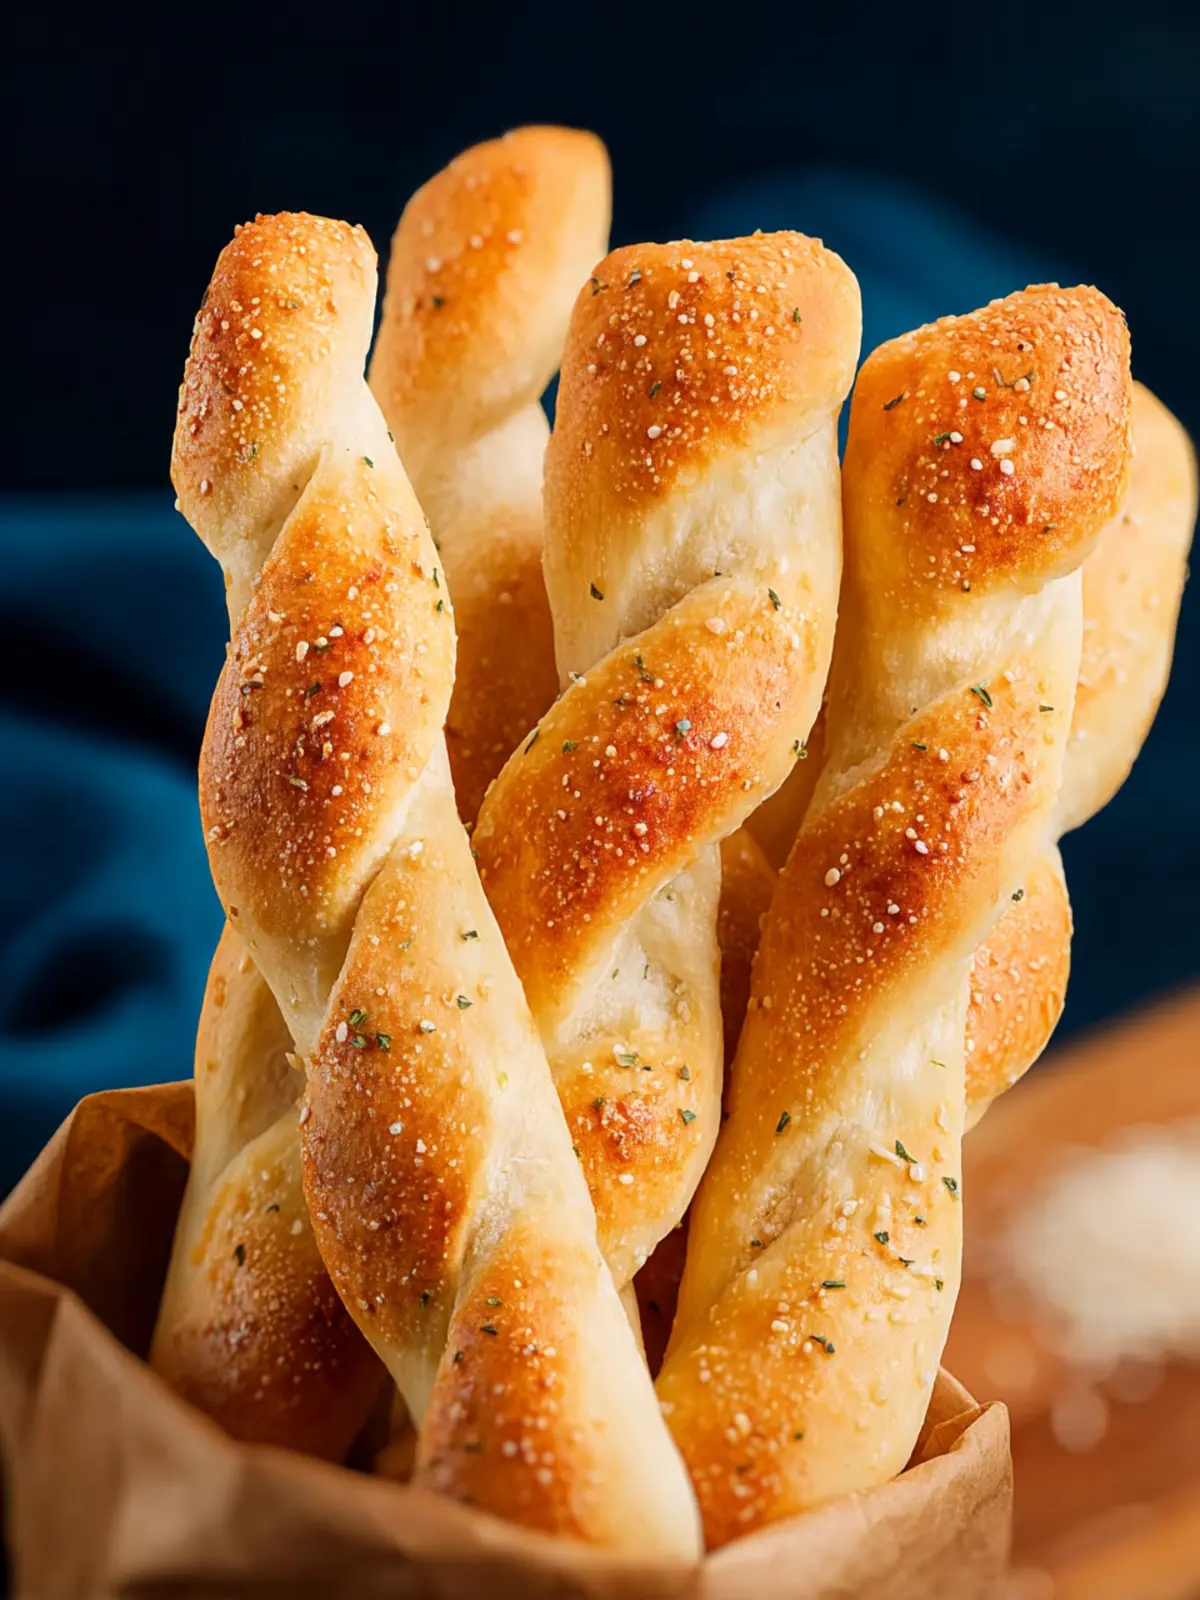
There’s something undeniably satisfying about pulling a batch of homemade breadsticks from the oven, their golden tops twinkling with a sprinkle of salt. Imagine the aroma wafting through your kitchen as you prepare these delightful treats. The anticipation builds as you get ready to pull apart a warm, slightly chewy piece, just begging to be dipped in marinara or smeared with garlic butter. Not only are homemade breadsticks a delicious accompaniment to your meals, but they also carry an irresistible charm that store-bought versions simply can’t match.
One of the best things about crafting your own breadsticks is the versatility they offer. Want to experiment with herbs? Go for it! Craving a cheesy twist? Throw in some grated Parmesan! Each batch can become a canvas for your culinary creativity, making every experience unique and personal. Plus, making breadsticks at home is an excellent way to impress guests or simply enjoy a cozy night in with a loved one.
As you embark on this endeavor, consider it more than just a recipe — it’s an opportunity to connect with your food, learn new techniques, and, most importantly, savor the rewards of your labor. After all, cooking can be a wonderful way to unwind after a busy day, and sharing your creations can foster connections with those around you.
So, whether you’re preparing for a gathering, looking for a fun kitchen project to tackle with friends, or just aiming to elevate your weeknight dinner, homemade breadsticks are a delightful choice. They might even become a staple in your culinary repertoire!
What Makes Homemade Breadsticks a Must-Try?
- Freshness: Nothing beats the taste of freshly baked breadsticks, warm from the oven.
- Customization: Tailor the flavors to your preference with herbs, spices, or cheeses.
- Connection: Engage with the baking process and invite friends or family to join in the fun.
- Simplicity: With a few basic ingredients, these breadsticks can be made easily, even on a busy weeknight.
Now that you’re inspired to give homemade breadsticks a try, let’s delve into the ingredients you’ll need to get started!
Key Ingredients for Homemade Breadsticks
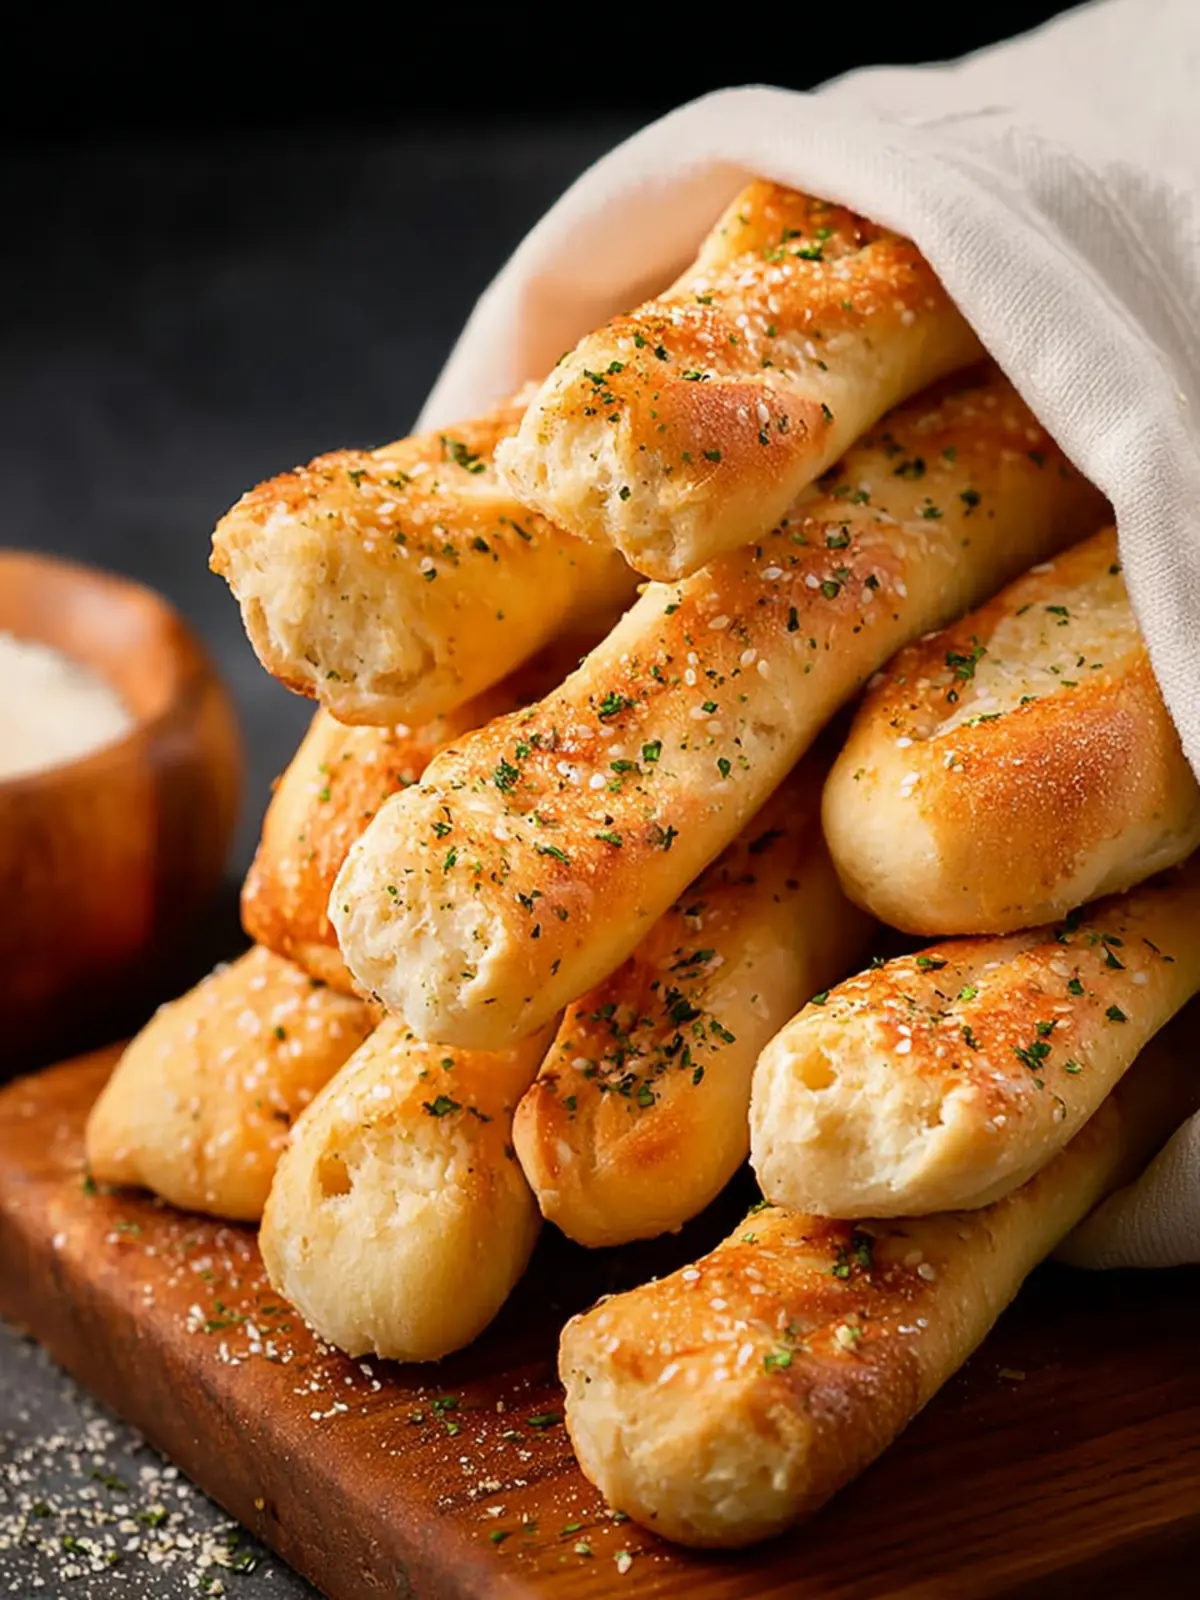
Fluffy, warm, and lightly golden breadsticks are a delightful addition to any meal, bringing comfort and joy with every bite. The magic starts with simple, everyday ingredients that transform into a savory side. Here’s a breakdown of what you’ll need to create your own delicious batch of breadsticks.
-
Flour: I recommend using all-purpose flour, as it provides the perfect balance of structure and tenderness. For a gluten-free option, a 1:1 gluten-free flour blend works just as well!
-
Yeast: Fresh yeast is your best friend here! It helps the dough rise beautifully, creating that airy texture. Using active dry yeast is also an excellent choice; just remember to activate it in warm water first.
-
Water: Lukewarm water is crucial for activating the yeast. It encourages the rising process while keeping the dough moist. Too hot, and you might kill the yeast; too cold, and it won’t activate.
-
Olive Oil: A touch of extra-virgin olive oil adds flavor and richness. It also helps create a lovely crust on the breadsticks.
-
Salt: Don’t skip the salt! It enhances the flavor of the breadsticks and supports the yeast’s activity, balancing the sweetness of the flour.
By combining these essential ingredients, you’ll whip up a batch of irresistible breadsticks that elevate any meal.
Why You’ll Love This Breadsticks Recipe
There’s something about breadsticks that brings a sense of warmth and comfort to any meal. Imagine the aroma of warm, buttery breadsticks wafting through your kitchen, inviting everyone to gather around the table. This recipe doesn’t just yield tasty breadsticks; it creates an experience filled with delightful crunch and soft, fluffy interiors that will leave you craving more.
The Perfect Snack or Side
Whether you need a quick snack to pair with your favorite dip or a delicious side to elevate your pasta dinner, breadsticks have you covered. They are incredibly versatile!
- Snack Time: Enjoy them fresh out of the oven with a bit of olive oil and balsamic vinegar for dipping.
- Dinner Companion: Serve them alongside a hearty marinara sauce or a creamy Alfredo—what’s not to love when they soak up every last bit of flavor?
- Gathering Treat: Hosting friends for movie night? These breadsticks are sure to impress and keep everyone munching happily away.
Not only are they easy to make, but they can also be customized with toppings and seasonings to match your taste. With each bite, you’ll appreciate the delightful balance of flavors and textures, making them a beloved staple in your household. Get ready to create a recipe your family will ask for again and again!
Variations of Breadsticks
Exploring the world of breadsticks can transform a simple side dish into a culinary delight. By incorporating a few creative twists, you can easily customize your breadsticks to suit your taste and wow your guests.
Creative twists to customize your breadsticks
-
Herb-Infused Varieties: Toss fresh herbs like rosemary or thyme into the dough for an aromatic spin. Not only does this enhance the flavor, but it also adds a pop of color.
-
Cheesy Additions: Sprinkle some grated parmesan or mozzarella on top just before baking. This results in a beautifully golden, cheesy crust that’s hard to resist.
-
Garlic Lovers’ Dream: Mix minced garlic into the dough or brush melted garlic butter on the baked breadsticks. This simple addition brings a bold punch of flavor sure to elevate your breadsticks.
-
Sweet Options: For a dessert twist, roll out a brioche dough and fill it with cinnamon sugar. After baking, you can drizzle a simple glaze over the top for a delightful treat.
-
Savory Seeds: Experiment with seed toppings like sesame or poppy seeds before baking. They add unique textures and nutty flavors that complement the breadsticks beautifully.
These simple adaptations not only enhance the flavor of your breadsticks but also make them an exciting addition to any meal.
Cooking Tips and Notes for Breadsticks
Crafting the perfect breadsticks can transform a simple meal into a delightful experience, evoking memories of cozy Italian dinners. To achieve that ideal, light, and chewy texture with a golden crust, here are some essential tips to consider.
Pro tips for the best results
-
Kneading: Don’t rush the kneading process. Aim for about 8-10 minutes. This step develops gluten, which gives breadsticks their desirable chewiness. If you have a stand mixer, it can do the work for you!
-
Dough Rising: Make sure your dough has ample time to rise; it should double in size. Keep it in a warm draft-free spot. A simple trick is to preheat the oven to the lowest setting for a few minutes, then turn it off and place the dough inside to rise.
-
Thickness Matters: When you shape your breadsticks, aim for uniform thickness for even baking. Thinner sticks will be crispier, while thicker ones will be soft yet chewy.
-
Topping Choices: Brush the sticks with melted butter before baking for a rich flavor, and sprinkle with garlic powder, herbs, or parmesan cheese for an added aromatic twist.
-
Baking: Keep an eye on your breadsticks while they bake. An additional minute or two can make a difference between golden perfection and a burnt bottom.
By incorporating these tips into your baking routine, you’ll create irresistible breadsticks that everyone will love!

Serving Suggestions for Breadsticks
Breadsticks can easily transform a simple meal into something special. Imagine a cozy evening, perhaps sharing delightful stories with friends or family, while breaking breadsticks fresh from your oven. The beauty of these versatile treats lies in their ability to complement a variety of dishes and flavors.
Pairing Ideas and Delicious Dips
Whether you’re enjoying a casual pasta night or hosting a more sophisticated gathering, here are some tasty ideas to elevate your breadstick experience:
-
Classic Marinara Sauce: A warm marinara is always a hit, perfect for dipping those golden breadsticks. Its tangy flavor balances beautifully with their buttery texture.
-
Cheesy Alfredo Dip: This rich, creamy dip is a luxurious option. Just melt some Parmesan and butter together, and you’ve got a decadent side that pairs excellently with your breadsticks.
-
Garlic Herb Oil: For a lighter alternative, whip up some olive oil infused with garlic and fresh herbs. It’s aromatic, flavorful, and let’s face it—so easy to make!
-
Soup Companion: Breadsticks make a delightful accompaniment to a steaming bowl of soup, whether it’s minestrone, tomato basil, or a hearty chowder.
Mix and match these suggestions to suit any occasion!
Time Breakdown for Making Breadsticks
Crafting homemade breadsticks is an oddly satisfying journey, filling your kitchen with warmth and enticing aromas. Understanding the timeline can help make this process smoother and more enjoyable.
Preparation Time
Getting started with your breadsticks takes about 15 minutes. This includes gathering your ingredients, mixing the dough, and shaping the sticks.
Rising Time
Once the dough is mixed, it needs to rise for about 1 hour. This is a crucial step, as it allows the yeast to work its magic, resulting in that soft and airy texture we love.
Baking Time
Finally, it’s time to bake! Your breadsticks will need around 12 to 15 minutes in the oven. You’ll know they’re ready when they’re golden brown and irresistible!
By planning your time effectively, you can enjoy delicious breadsticks fresh out of the oven in no time.
Nutritional Facts for Breadsticks
When indulging in homemade breadsticks, it’s natural to wonder how they fit into your dietary goals. Knowing the nutritional profile can help you enjoy them guilt-free while complementing your meals. Here’s a quick breakdown of the essential nutritional facts that make your delicious breadsticks both delightful and satisfying.
Calories
A single serving of breadsticks generally contains around 150 calories, depending on the recipe and portion size. This makes them a reasonable side to accompany soups or salads without exceeding your daily calorie limits.
Protein
Each serving packs about 4 grams of protein, providing a little boost to your meal. While not a significant source of protein, pairing your breadsticks with high-protein dips can enhance their nutritional value.
Sodium
Typically, these delightful breadsticks can contain roughly 200-300 mg of sodium per serving. To keep things healthier, you might consider reducing the salt in the recipe or using low-sodium alternatives when possible.
Understanding these nutritional facts helps you enjoy your homemade breadsticks while maintaining a balanced diet. Don’t be afraid to experiment with ingredients to suit your health goals!
FAQs about Breadsticks
When you embark on the delightful journey of baking breadsticks, it’s common to have a few questions pop up along the way. Here, we’ll dive into some of the most frequently asked questions to help ensure your breadstick-making experience is smooth and enjoyable.
Can I use active dry yeast instead of instant yeast?
Absolutely, you can use active dry yeast as a substitute for instant yeast! The primary difference lies in the activation process: active dry yeast requires blooming in warm water first. Allow it to sit for about 10 minutes until it becomes bubbly, then mix it into your dough. Keep in mind that the rising times may vary slightly, so be patient and keep an eye on your dough.
How do I store leftover breadsticks?
If you find yourself with any leftover breadsticks (which is not very common, let’s be honest!), make sure to store them properly to preserve their deliciousness. Place your breadsticks in an airtight container at room temperature for up to two days. For longer storage, you can wrap them in foil and store them in the refrigerator. Just remember to reheat them in the oven for a few minutes to regain that delightful crispness.
Can I freeze the dough?
Definitely! Freezing the dough for your breadsticks is a fantastic way to have fresh-baked goodness on hand whenever you crave it. After your dough has risen, simply shape it into sticks and place them on a parchment-lined baking sheet. Freeze until solid, then transfer to a freezer bag. When you’re ready to bake, let them thaw and rise at room temperature before baking as per your recipe instructions. Enjoy the homemade comfort!
Conclusion on Homemade Breadsticks
Why you’ll want this recipe in your kitchen arsenal
Homemade breadsticks bring warmth and comfort to any meal, turning an ordinary dinner into a memorable experience. With a simple mix of flour, yeast, and a touch of seasoning, you can produce these golden-brown delights in no time. They’re perfect served alongside pasta, soups, or even as a snack on their own. Plus, making them from scratch allows for customization—experimenting with herbs or cheeses can elevate your dish further. Adding this breadstick recipe to your collection ensures that you’ll always have a go-to recipe ready to impress. Don’t miss out on the joy of home-baked goodness!
Print
Garlic Butter Breadsticks
- Total Time: 1 hour 31 minutes
- Yield: 12 breadsticks 1x
- Diet: Vegetarian
Description
Delicious homemade garlic butter breadsticks, perfect as a side dish or snack.
Ingredients
Scale
- 1 ¼ cups warm water (not hot)
- 2 ½ tsp instant yeast
- 2 Tbsp brown sugar
- 1 tsp salt
- 3–4 cups all-purpose flour
- 4 Tbsp salted butter (melted, divided)
- 1 tsp garlic salt
Instructions
- In a stand mixer fitted with a dough hook attachment add the water, yeast, brown sugar, salt, and 1 ½ cups of the flour.
- Knead the dough on a low speed until all the flour is incorporated. Add more flour, ½ cup at a time until the dough clears the sides of the bowl. It should be between 3-4 cups. You will know when you have enough flour when the dough sticks to itself more than to the side of the bowl or to your fingers. Once the dough has enough flour, knead for 3-4 more minutes.
- Remove the dough to your hand for a second while you grease the bowl with cooking spray. Return the dough to the bowl, cover with plastic wrap and let rise until nearly doubled in size, about 1 hour.
- Line a rimmed baking sheet with parchment paper and preheat the oven to 400°F. Spread 2 tablespoons of the melted butter over the top of the parchment paper.
- Once the dough has risen, lightly grease a counter and tip the dough onto it. Roll or pat the dough into a roughly 16-inch x 8-inch rectangle.
- Cut the dough using a pizza cutter into 1-inch strips. Twist each dough strip a few times and place on the baking sheet. Continue rolling, placing them about ½-1 inch apart.
- Use a pastry brush to brush the remaining 2 tablespoons of butter over the breadsticks and sprinkle with garlic salt.
- Let the breadsticks rise for 20 minutes before baking.
- Bake for about 14-16 minutes until the breadsticks are golden brown on top.
- Remove from oven and enjoy hot.
Notes
- For best results, make sure the water is warm but not hot to activate the yeast properly.
- The amount of flour needed may vary based on humidity and other factors.
- Prep Time: 15 minutes
- Cook Time: 16 minutes
- Category: Bread
- Method: Baking
- Cuisine: American
Nutrition
- Serving Size: 1 breadstick
- Calories: 120
- Sugar: 1g
- Sodium: 200mg
- Fat: 6g
- Saturated Fat: 4g
- Unsaturated Fat: 1g
- Trans Fat: 0g
- Carbohydrates: 15g
- Fiber: 1g
- Protein: 2g
- Cholesterol: 15mg