Follow Me On Social Media!

High Altitude Red Velvet Bars: Indulgent Treats You’ll Love
Introduction to High Altitude Red Velvet Bars
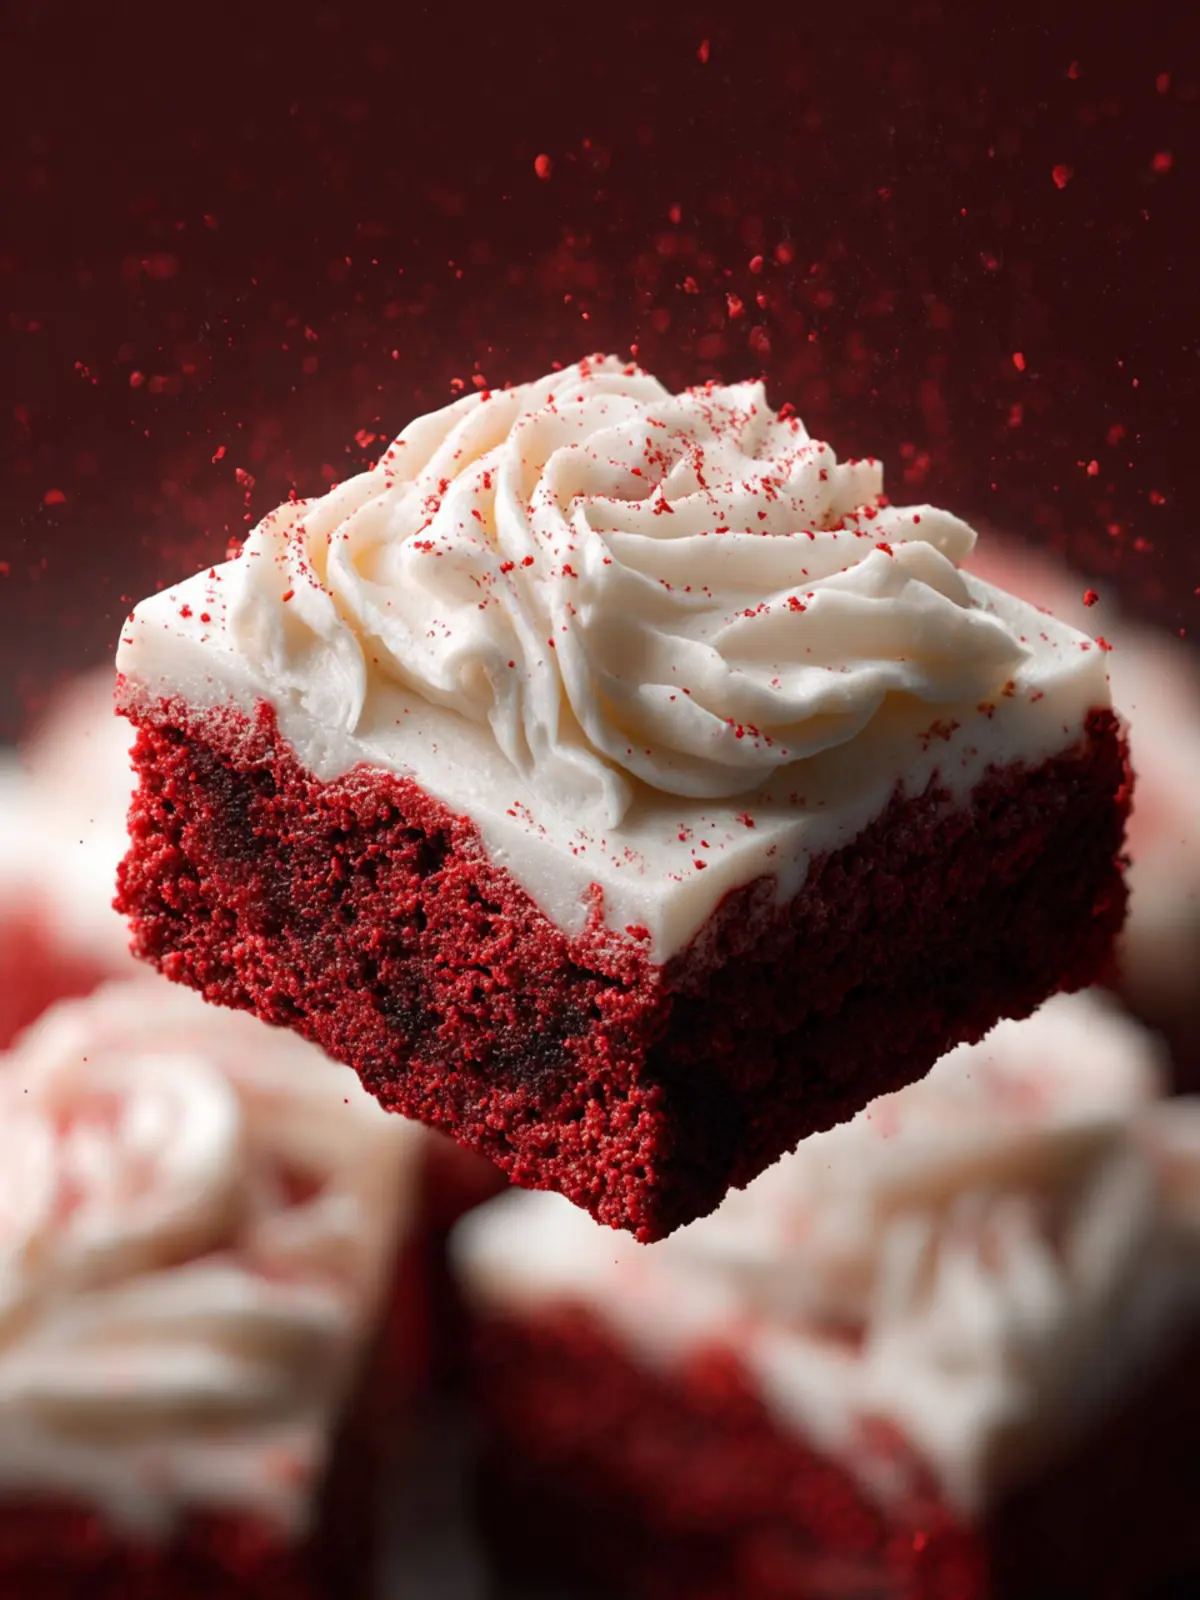
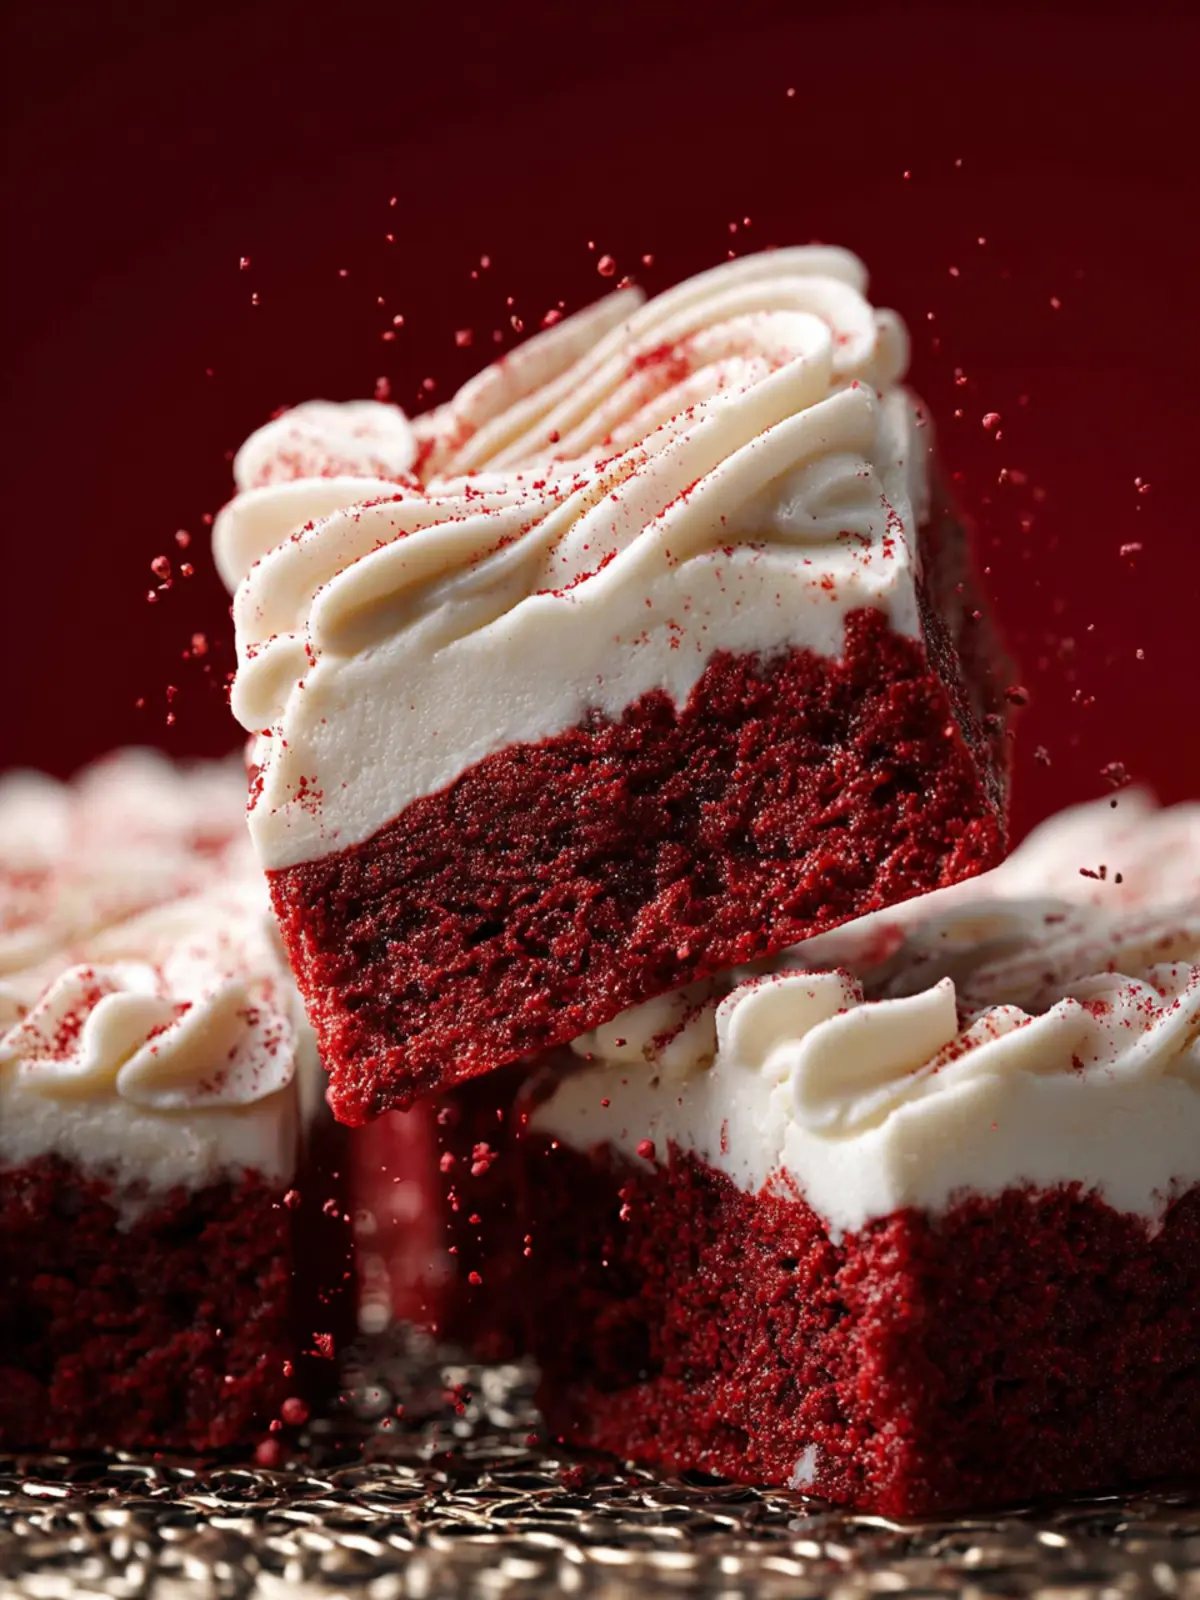
There’s something uniquely delightful about high altitude red velvet bars that beckons you to indulge. Picture this: a soft, luscious bar with vibrant red hues, inviting you to savor its rich cocoa flavors infused with just a hint of tanginess. The moment you take a bite, you’re met with a delicate crumb that melts in your mouth, leaving you craving just one more piece. These bars manage to combine luxurious flavor with simple ingredients, making them an irresistible treat, especially when scaling the heights of baking challenges that come with altitude.
Living at a higher elevation introduces a delightful twist to baking. The lower air pressure impacts how ingredients interact and how baked goods rise and set. A bit of adjustment transforms your classic red velvet experience into something extraordinary. Think of it as a culinary adventure where every step you take is guided by a balance of chemistry and creativity.
What makes red velvet bars so irresistible?
When you think of red velvet, it’s more than just the color; it’s about the experience. Here’s what makes these high altitude red velvet bars a standout:
- Velvety Texture: The combination of smooth cream cheese and rich butter ensures every bite is melt-in-your-mouth good.
- Balanced Flavor: With the right mix of cocoa and buttermilk, these bars hit the sweet spot between rich and tangy, letting the flavors mingle beautifully.
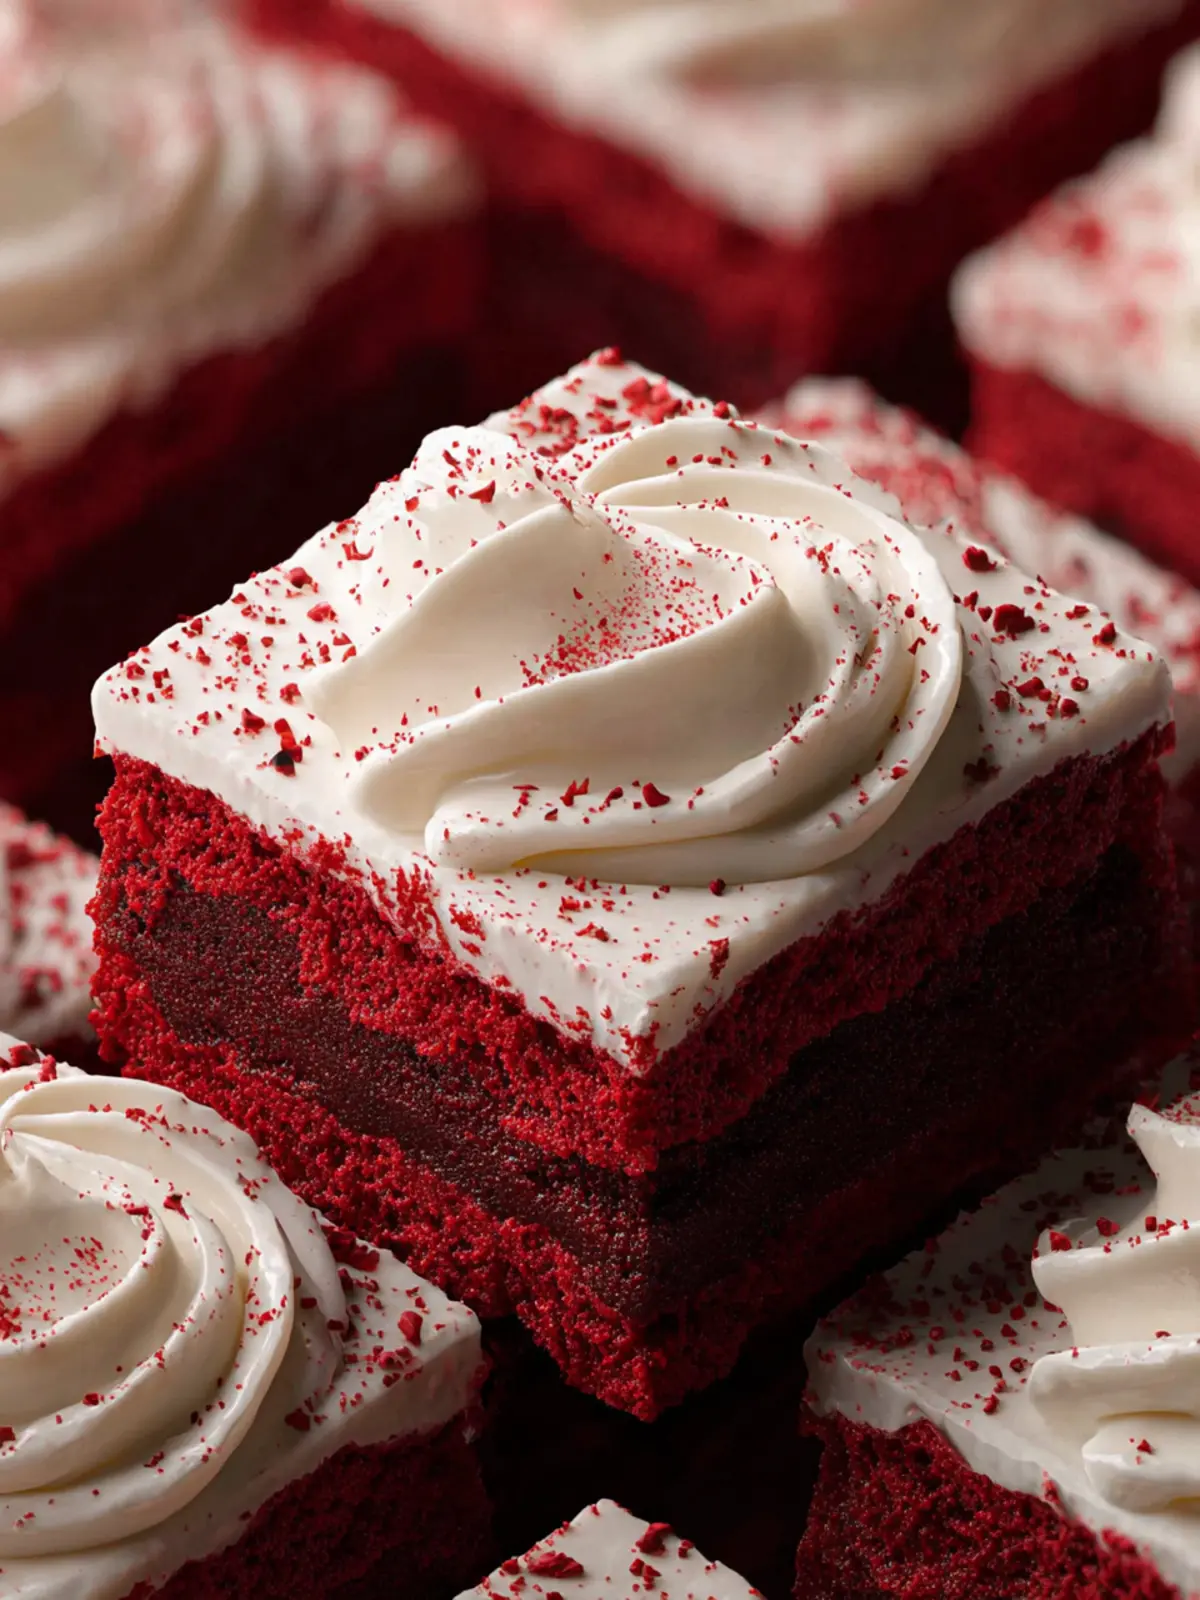
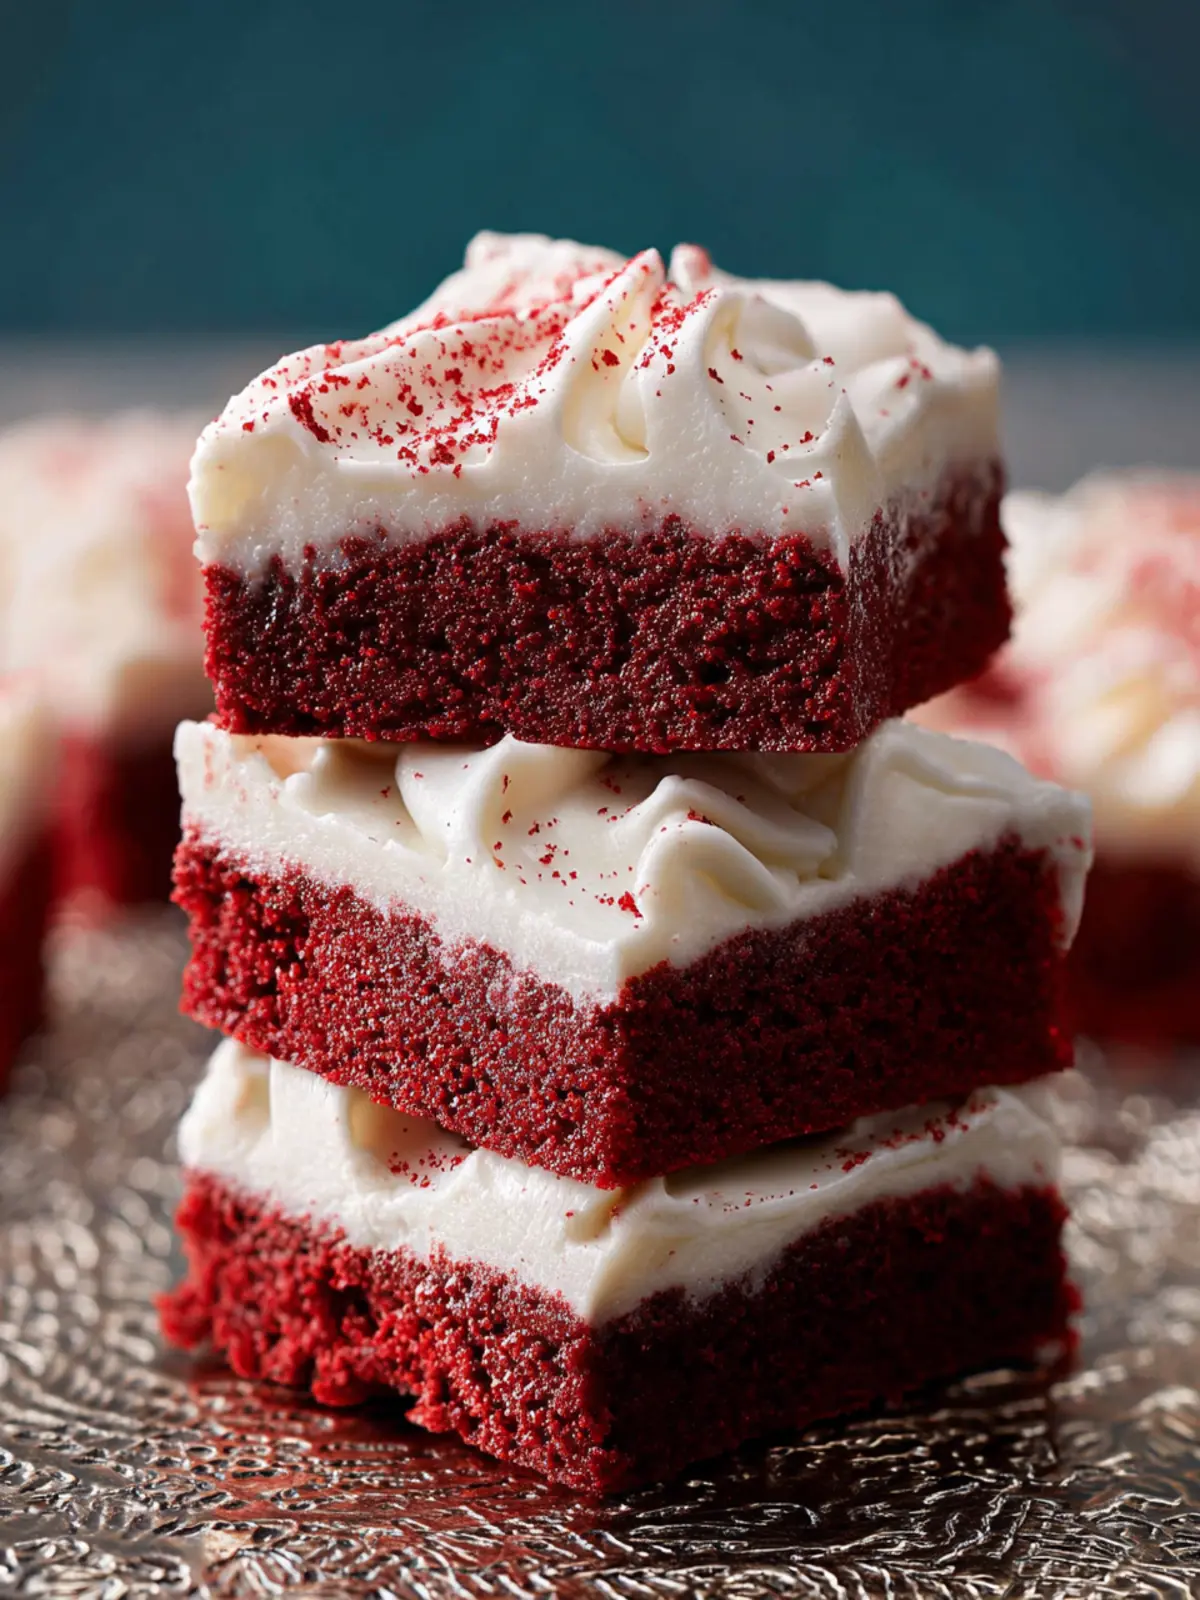
- Visual Appeal: The striking red color topped with a cream cheese frosting is not just a feast for the taste buds but also for the eyes.
So, how do you create these delicious bars that embody luxury and warmth, regardless of your altitude? With the right ingredients and a bit of love, you can elevate your baking game and bring these indulgent, high altitude red velvet bars to life! Grab your aprons; it’s time to create something extraordinary.
Key Ingredients for High Altitude Red Velvet Bars
Creating high altitude red velvet bars is a delightful journey that combines rich flavors with special considerations for elevation. In crafting these bars, each ingredient plays a pivotal role in ensuring they rise perfectly and maintain that beloved moist texture.
-
Cocoa Powder: I always opt for unsweetened cocoa powder, which provides that classic chocolatey depth. When you’re at higher elevations, cocoa can help balance flavors without overwhelming sweetness.
-
Butter: Using unsalted butter not only creates a rich taste but also allows for better control over the saltiness in the recipe. Be sure to let it soften to room temperature for easier mixing.
-
Sugar: Both granulated and brown sugars come into play here. Granulated sugar helps with texture, while brown sugar adds moisture and a slight hint of caramel flavor, which is essential to keep these bars tender.
-
Buttermilk: An absolute must! Its acidity reacts with the baking soda to create a tender crumb. If you don’t have buttermilk, using milk with a splash of vinegar or lemon juice will do the trick.
-
Flour: All-purpose flour works well, but remember that at high altitudes, you may need to adjust the amount slightly to achieve the perfect consistency. It’s all about that balance for high altitude red velvet bars.
-
Eggs: These not only add structure but also moisture. Using large eggs helps ensure the bars stay fluffy and light.
-
Baking Soda & Vinegar: This dynamic duo helps the bars rise beautifully. The reaction between them is critical for achieving that perfect height, especially in the thin air of higher elevations.
With these ingredients in your arsenal, you’re well on your way to mastering the art of high altitude red velvet bars. Enjoy the flavorful adventure!
Why You’ll Love These High Altitude Red Velvet Bars
When you take a bite of these high altitude red velvet bars, you’ll be instantly transported to a world of rich chocolate goodness complemented by that signature tangy cream cheese frosting. Living at higher elevations can present a challenge for bakers, but these bars defy the odds with their perfectly balanced flavors and textures. They’ve quickly become a favorite in my home, and I can’t help but share why!
-
Moist and Delicious: Thanks to the careful balance of ingredients, these bars turn out wonderfully moist, even at high altitudes. No one wants a dry red velvet dessert, and with a rich buttermilk base, you’ll find these bars are anything but.
-
Perfect for Any Occasion: Whether you’re celebrating a birthday, hosting a game night, or just trying to impress your coworkers, these red velvet bars are a showstopper. Their striking color and scrumptious taste will have everyone coming back for seconds.
-
Easy to Make: You don’t need to be a master baker to whip up these bars. The straightforward instructions make it accessible for anyone. A bit of mixing, baking, and you’re set!
So grab your ingredients and let’s dive into making these delectable high altitude red velvet bars! They just might become your new go-to treat.
Tips for Baking High Altitude Red Velvet Bars
Baking high altitude red velvet bars can be a delightful challenge that brings a rich, moist treat to your table. The unique environment at high elevations can affect baking times and ingredient reactions. To help you navigate this exciting baking adventure, I’ve compiled some key tips for success.
Adjust Your Oven Temperature
At high altitudes, the air is thinner, causing baked goods to rise faster and sometimes unevenly. As a rule of thumb, consider increasing your oven temperature by about 15-25 degrees Fahrenheit. This small change can prevent your red velvet bars from collapsing.
Fine-Tune Your Ingredients
- Flour: Reduce the amount of flour slightly—about 1-2 tablespoons. This helps maintain moisture, preventing the bars from becoming too dry.
- Sugar: You might want to decrease sugar by a tablespoon or two to prevent overly sweet bars, which can be a concern at higher elevations where sweetness becomes more pronounced.
- Baking soda: Consider increasing it by 1/8 teaspoon to help improve the rise and texture.
Monitor Baking Time
Higher altitudes can lead to quicker baking. Start checking your red velvet bars a few minutes earlier than the recipe suggests. Insert a toothpick into the center; if it comes out clean or with a few moist crumbs, they’re ready.
With these simple adjustments, you’ll create perfect high altitude red velvet bars that everyone will love!
Time Details for High Altitude Red Velvet Bars
When whipping up high altitude red velvet bars, timing is everything to ensure that each layer emerges perfectly. Here’s a breakdown to guide you through the process:
Preparation Time
Set aside about 15 minutes for preparation. This includes gathering your ingredients, preheating the oven, and mixing the batter. Planning ahead can make this time feel seamless.
Baking Time
For these decadent bars, you’ll need approximately 25 to 30 minutes of baking time. Keep an eye on them as they bake; they’re done when a toothpick inserted in the center comes out clean or with a few moist crumbs.
Total Time
In total, you’ll spend around 45 to 60 minutes from start to finish. In no time, your high altitude red velvet bars will be ready to impress! Enjoy the delightful aroma filling your kitchen as they bake.
Nutritional Information for High Altitude Red Velvet Bars
When diving into a batch of high altitude red velvet bars, it’s essential to understand their nutritional profile. These delightful treats are not just visually appealing but also provide a satisfying balance of flavors. Here’s a quick breakdown:
Calories
Each bar contains approximately 200 calories. This makes it a delightful indulgence without veering too far off track from your daily caloric intake.
Protein
You’ll get about 2 grams of protein per bar. While not a protein powerhouse, it complements the sweetness with a touch of nourishment.
Sodium
Each serving has roughly 150 milligrams of sodium. This is relatively low, making these bars a smarter choice for a sweet snack or dessert option compared to many store-bought alternatives.
Understanding the nutritional value of your high altitude red velvet bars helps you enjoy them while keeping your dietary goals in mind!
FAQs About High Altitude Red Velvet Bars
Navigating the world of baking can feel like solving a delightful puzzle, particularly when crafting high altitude red velvet bars. Understanding the ins and outs of high-altitude baking ensures your treats stay just as delicious as they are at sea level. Here are some common questions answered to help you achieve that perfect bake.
What adjustments do I need for high altitude baking?
Baking at high altitude requires a few key adjustments to ensure your high altitude red velvet bars turn out perfectly. Generally, you’ll want to:
- Decrease Sugar: Reduce sugar by about 1-2 tablespoons per cup.
- Increase Liquid: Add an extra 1-2 tablespoons of liquid to prevent dryness.
- Adjust Baking Powder: Decrease baking powder by 1/4 teaspoon for each teaspoon called for, as the lower air pressure can make your bars rise too quickly.
- Increase Oven Temperature: Raise the oven temperature by 15-25 degrees Fahrenheit, which helps set the structure before the bars overexpand.
Can I make these bars gluten-free?
Absolutely! To create gluten-free high altitude red velvet bars, substitute the all-purpose flour with a 1-to-1 gluten-free flour blend. This way, you can enjoy the same rich flavor and texture without compromising on quality.
How do I store leftover red velvet bars?
To keep your high altitude red velvet bars fresh, store them in an airtight container at room temperature for up to three days. If you want to extend their shelf life, try refrigerating them. Just remember to let them come to room temperature before enjoying — the flavors will be at their best!
Conclusion on High Altitude Red Velvet Bars
In the realm of high altitude red velvet bars, perfection can often feel like a lofty goal. However, mastering this delightful treat doesn’t have to be daunting; it just requires a few adjustments to your baking methods. Whether you choose to indulge in these rich, moist bars for a special occasion or a simple afternoon snack, your efforts will surely win over friends and family alike.
Remember to consider how altitude impacts your ingredients and baking times. By embracing these unique challenges, you’re not just baking; you’re creating culinary art. So gather your ingredients, follow the recipe, and let the magic unfold in your kitchen. Happy baking!
Print
Red Velvet Cream Cheese Bars
- Total Time: 6 hours 30 minutes
- Yield: 16 squares 1x
- Diet: Vegetarian
Description
Deliciously soft and rich red velvet bars topped with a creamy frosting, perfect for any occasion.
Ingredients
Scale
- 1 cup unsalted butter, (melted)
- 1 cup granulated sugar
- 3 tbsp light brown sugar
- 2 large eggs
- 1 tbsp vanilla extract
- 1 1/4 tsp “super red” gel food coloring
- 2 3/4 cups all-purpose flour, (fluffed, spooned and leveled)
- 5 tbsp unsweetened Dutch processed cocoa powder
- 1 tbsp corn starch
- 1 tsp baking powder
- 1/2 tsp cream of tartar
- 1/2 tsp coarse Kosher salt (if using table salt, use half the amount)
- 4 oz block cream cheese, (cold)
- 1/2 cup unsalted butter, (softened to room temperature)
- 2 1/2 cups powdered sugar
- 1 tbsp corn starch
- 1/8 tsp coarse Kosher salt
- 1 tsp vanilla extract
Instructions
- Preheat the oven to 350 F, and position a rack in the center of the oven. Line a 9-inch baking pan with parchment paper, to make it easier to lift out and cut the cooled bars.
- In a large bowl, whisk together the melted butter with the granulated sugar, brown sugar, eggs, vanilla and red food coloring, until well combined.
- In a separate bowl, sift together the flour, cocoa powder, corn starch, baking powder, cream of tartar and salt. Add the dry ingredients to the liquid mixture, and stir just until the flour is incorporated and you have a soft dough.
- Use an offset spatula to spread the dough evenly into the prepared pan. Bake for 20-22 minutes, until the bars have risen slightly, and the center is set. If you bake them for longer, they may end up too dry.
- Set the pan on a cooling rack. Cool completely, at least 4-6 hours, before cutting. You can even make these the night before, cover the pan with plastic wrap and cool overnight, before frosting the next day.
- In the bowl of your stand mixer fitted with the paddle attachment, beat the cold cream cheese for about 1 minute, until smooth. Add the butter and beat together until well combined.
- With the mixer on low, add the powdered sugar by spoonfuls, the corn starch, salt and vanilla.
- Beat on medium speed for about 3 minutes, until light and fluffy.
- Spread the frosting over the cooled bars, or pipe it on using tip 1M for a more decorative finish.
- Cut into 16 squares.
Notes
- Chill the frosting for about 30 minutes before spreading for a thicker application.
- These bars can be stored in an airtight container in the refrigerator for up to 5 days.
- Prep Time: 30 minutes
- Cook Time: 22 minutes
- Category: Dessert
- Method: Baking
- Cuisine: American
Nutrition
- Serving Size: 1 square
- Calories: 290
- Sugar: 25g
- Sodium: 95mg
- Fat: 15g
- Saturated Fat: 9g
- Unsaturated Fat: 4g
- Trans Fat: 0g
- Carbohydrates: 34g
- Fiber: 1g
- Protein: 3g
- Cholesterol: 60mg